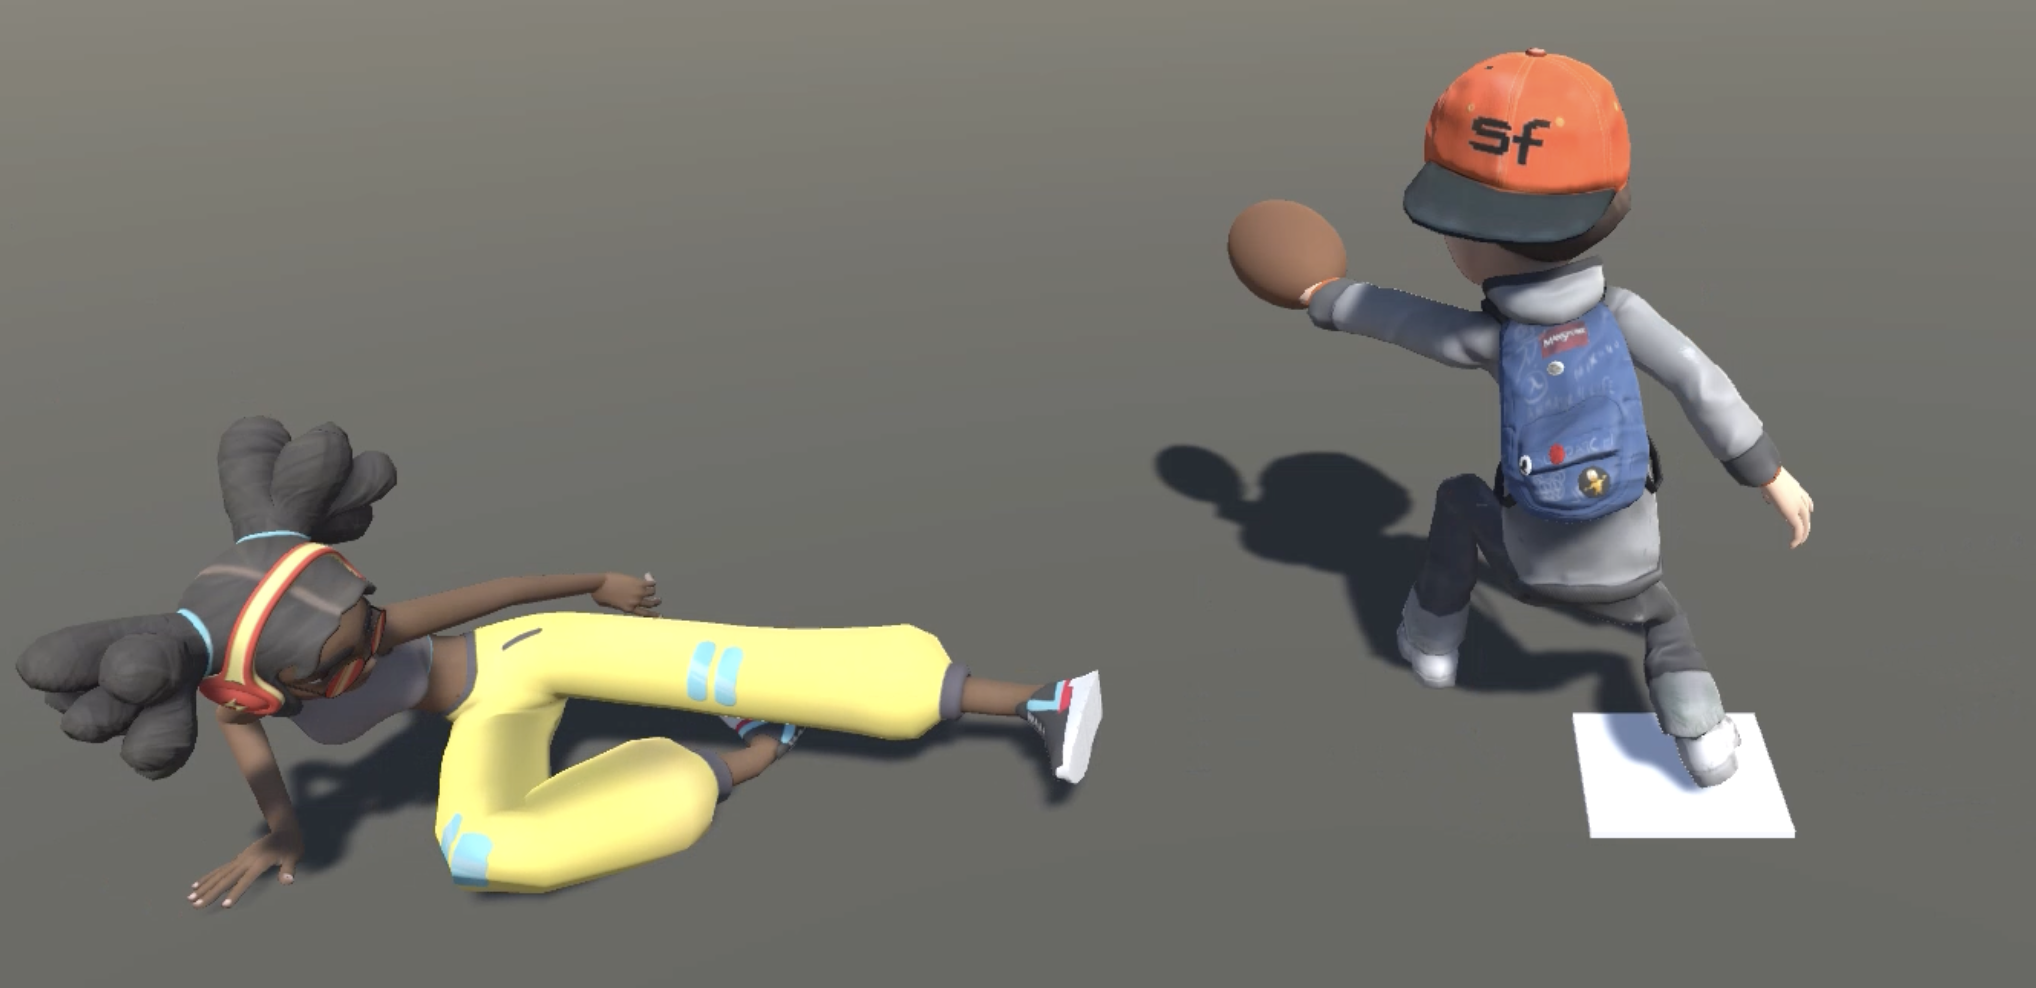
I made The Ump Show with two free characters. It was a great choice to make a demo quickly but it’s not enough for a full game, so I had to figure out how to add more variety of characters to the game.
The first thing I had to figure out was the scale. How many characters do I actually need? In the career mode of The Ump Show, there are going to be about 15 teams with about 15 players each. So if we had an infinite budget, we could have 225 handcrafted characters. But that’s unlikely to be something I can pull off as a solo gamedev.
So we move on to the traditional gamedev solution: cheating. We can create a
small number of custom “parts” that we can put together to create many unique
characters. For example, if we create N heads and M bodies, we could combine
different heads and bodies to create N*M characters.
We can also add things like glasses or hair and other “parts” to add more combinatorial variety.
Let’s look at how you can actually combine parts and support this variability.
Animation and Rigging
In games, characters are special because they are animated with a lot of complex movement. It would be incredibly painful if we had to recreate each animation for each character combination. So before we start combining things, we should figure out how we can reduce the work of recreating animations.
Fortunately, both Unity and Unreal support retargeting an animation from one rig/skeleton to another. This means that if the combined character is rigged, then we can apply an existing animation to it!
Combining Rigs in Unity
Since I did my work in Unity, I want to cover some of the nuances for it.
If you are new to character animation, here is a quick primer. Animations don’t store how each vertex of the mesh should move, that would be too expensive. Animations instead store how a simple skeleton/rig should move. Character meshes have to be linked with the skeleton so each vertex knows how much it should move when the bone moves. So the animation moves the bones and the bone moves the vertices.
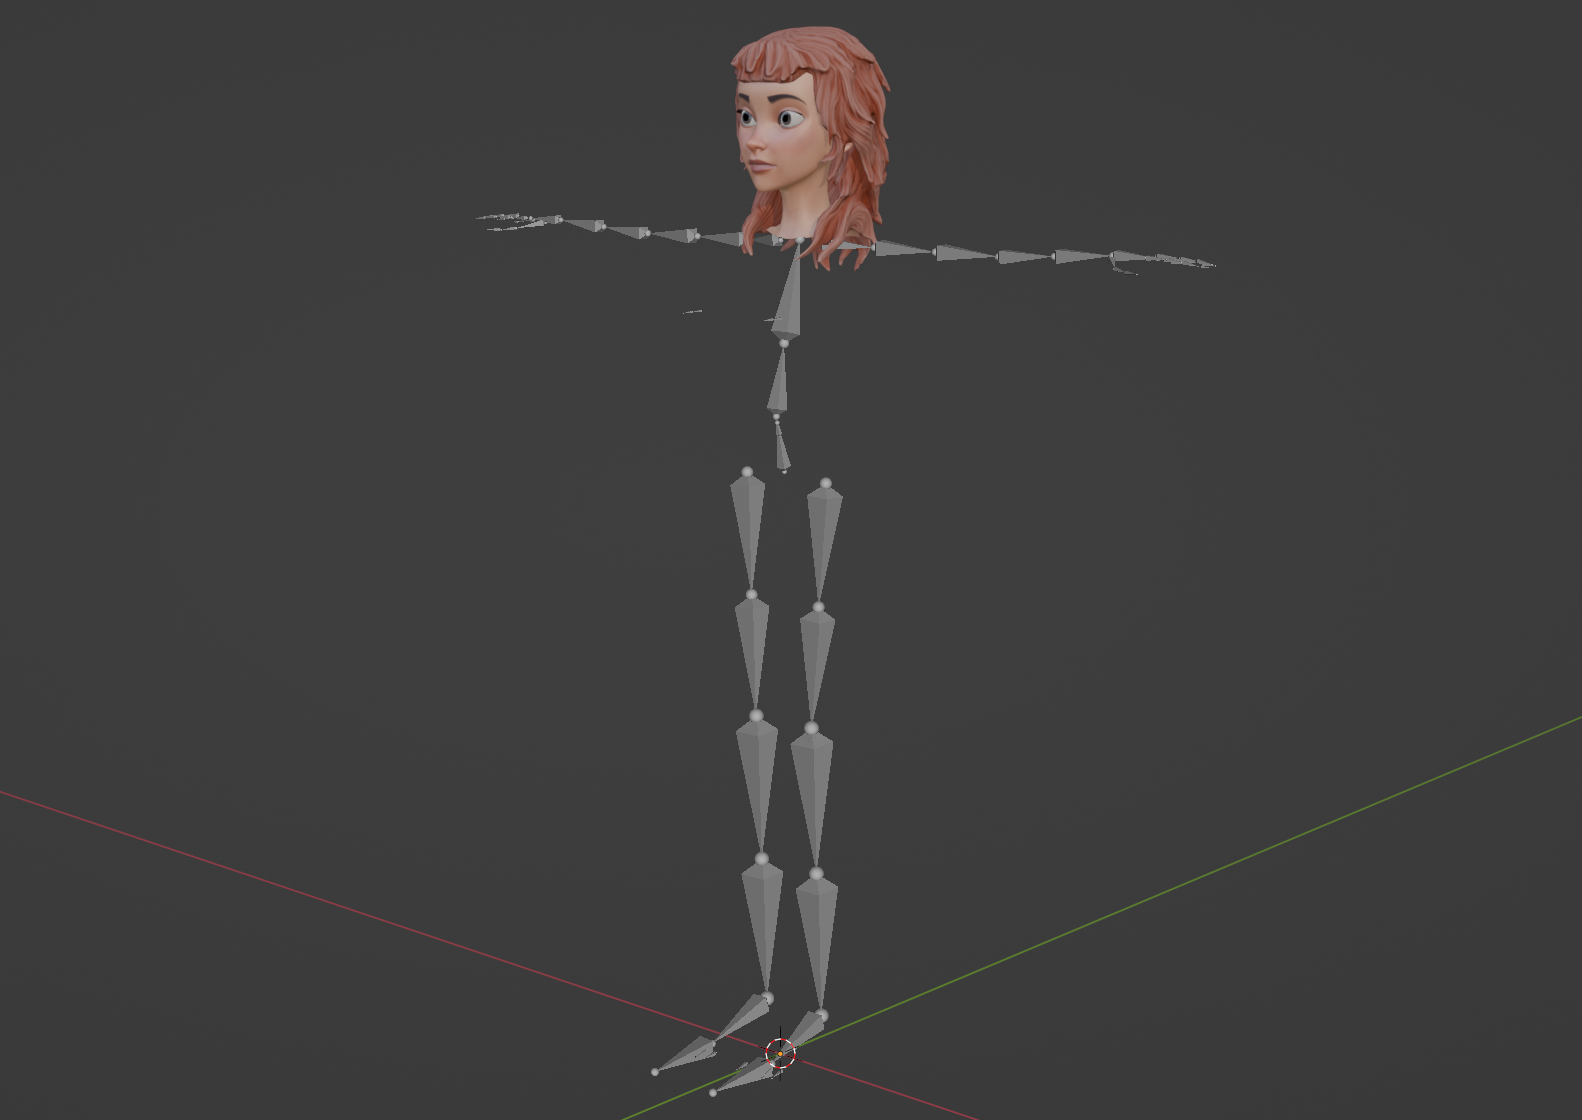
This poses a problem when we are combining a head and a body since they have to work off of the same skeleton for the animation to work. So to keep things simple, all the parts you are creating should use the same skeleton structure (same number of bones, same naming, same hierarchy). Secondly, every single part you create should be exported with the full skeleton/rig.

Once you have this, you can start combining the parts in code:
- Pick the parts you want to combine. Let’s say Body A and Face B.
- Instantiate Body A (with its rig)
- Instantiate Face B as a child of the body
- For all the bones in the face, copy over the location/rotation/scale of the bone from the Face rig into the Body rig
- Reset the
RootBoneand thebonesproperty of the FaceSkinnedMeshRendererby copying over the values from the Body’sSkinnedMeshRenderer - Destroy the Face rig
This makes the face and the body respect the same set of bones that they share. So when that rig is animated, both will move as expected.
Now that we have a working rig, we still need one more thing before animations work in Unity: create an avatar. The avatar contains the data that Unity needs to ’normalize’ the skeleton so it can retarget any generic animation to the specific skeleton. For example, it uses the avatar to figure out the name of the bone that represents the head or figure out the distance between the hip and the knee bones in a normal stance.
If most of your bodies and faces are very similar, you can manually generate the Avatar once and reuse it for all your combined characters. Alternatively, you can use this code as inspiration to generate a new avatar on the fly. This will trigger the code that Unity would have run if you had manually generated an avatar for your combined character.
Making Body Parts
I keep talking about making bodies and faces but how does one even do that! Like most things in game development, the answer is “with great difficulty”. If you are artistically talented, you could model your own 3D characters. Then you have to texture the character and finally you also have to do the rigging.
Alternatively, you can also purchase models that come pre-textured and pre-rigged. But you still need to do it with an artistic eye: make sure the models match your game’s style!
Once you have at least one full character, you can use software like Character Creator to generate some more variety of characters by altering body features and facial features easily. Character Creator is also useful for easily making your accessories (like clothes) actually follow the character’s shape.
I bought several characters from the Character Creator store, reclothed the characters I liked and generated variations for those characters.
Once you have exported your characters, you will need to go back to your 3D software (like Blender) so that you can split off the face and the body (and other parts you want to split up). At the end of this process, you should have many parts that you can combine together!
Materials
The easiest way of adding more variety to your characters is by manipulating the materials of the character. When you import your characters into your game engine, you will likely have to recreate materials to define how the characters should look.
When you do that, you can add customizations! You can change big things like the color of the object but you can also change small details like showing/hiding stripes in the above video.
If you are using the “built-in render pipeline” for Unity, you should use
MaterialPropertyBlocks to add these customizations so that Unity can batch
multiple objects and render them together. If you are using the “scriptable
render pipelines” (URP/HDRP) then you should not use
MaterialPropertyBlocks as that will actually disable the automatic batching
those pipelines already do. This feels hilariously appropriate for Unity as they
are somewhat notorious for having two incompatible systems for doing the same thing.
Accessory Nuances
We have talked about bodies and faces in detail. How should we handle general accessories?
The problem with accessories is that they have to work with the different bodies and faces we have created. In the simple case, we just have to adjust the size and position of the accessory. In the more complex case, the accessory might have to more intelligently morph to match the shape of the character.
Simple Case
In the simple case, you have examples like hats. To fit different heads, you have to choose a different scale and base position. But the shape of the hat doesn’t have to change as it can “hide” the head underneath. Once you have this adjustment locked in, you can use Unity’s “constraint” system to always keep the hat in that position relative to the head even when the head moves.
To help me with this, I created an editor tool that would let me quickly place hats on different faces and store the relative adjustments that I can use when I am generating those characters.

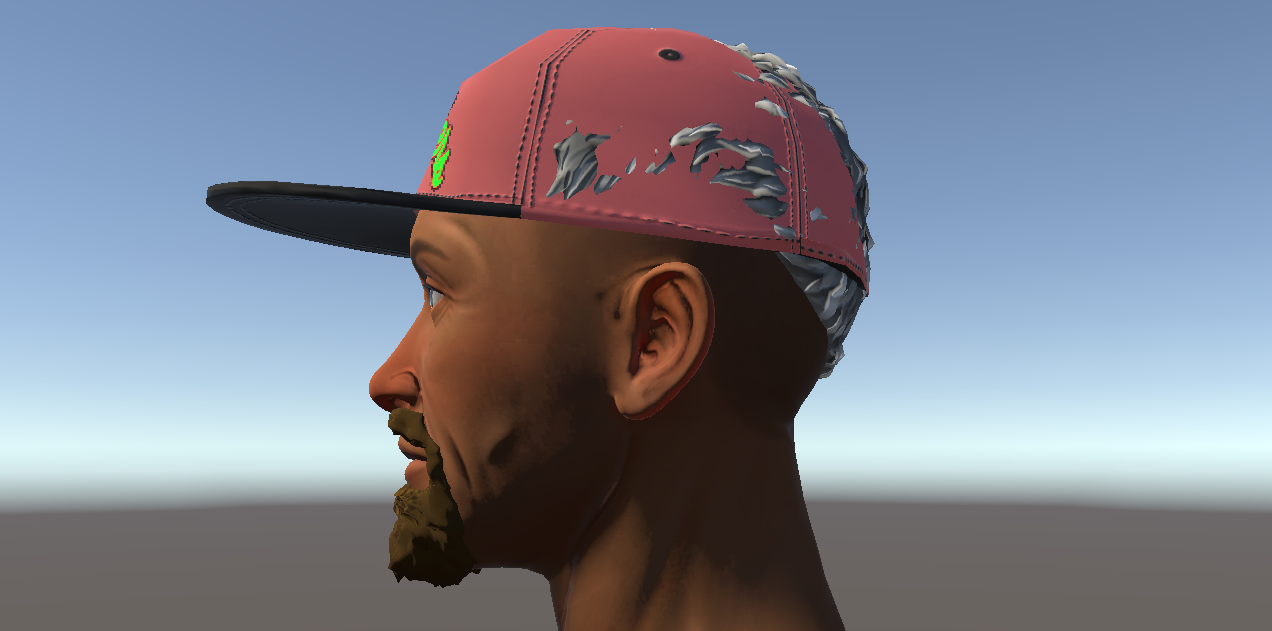
I actually lied when I said that the hat situation was simple though. Once I started placing the hats on the characters, I quickly realized that the character’s hair was being rendered on top of the hat! The hair is completely unaware that the hat exists. I first tried just hiding the hair when the hat was present but I didn’t like how that looked, as the characters should have some hair below the hat.
Complex Case
The hat example was already complicated. But other accessories that have to morph around the shape of the character like a chain or a belt are even more complicated. My recommendation is to add the accessory as part of the base body in software like Character Creator which is good at doing the morphing. Then in your game engine you can choose to hide/unhide depending on the customization settings.
The only drawback is that this means that every base character must be generated with every accessory. If that is too much, you have to carefully design each of your accessories so that it can look right on each body by doing only the adjustments we did in the simple case. This is doable, just requires more artistic and technical skill.
Other Considerations
Performance
I have been very light on performance concerns. Mostly because for my use case there will only be 5-6 characters on screen at a time. If you are trying to render massive crowds, you have to think more deeply about the performance. The Advanced People Pack is a good paid asset to study. It is very optimized.
It will combine all the parts of the character into a single mesh and use a single material to minimize rendering costs. While the style of the asset might not work for your game, the techniques used might still be useful in other games.
Disk Size
By far, the most expensive thing in terms of disk size are the textures. The 3D model itself is actually pretty cheap (a full model can come under 100kb while just one 4k texture is ~2mb and you will need multiple textures per character). So it’s very useful if the different base characters can share textures. For example, do you really need different eye textures for all your different characters? The other lever is to reduce the resolution of the textures you use. If your character is not going to be in extreme close up, you do not need 4K resolution for those textures.
Repeatability
I am a solo-dev. So I can kinda do weird things and it’s okay because I have the context for what I am doing. This doesn’t scale. So if you are working with a team, you have to have a consistent and repeatable process. So everyone should be able to add new bodies or faces without having to rediscover the whole process or doing it slightly differently every time.