Render pipelines are how graphics applications build an image. Watching them in action is very satisfying so I wanted to share what they are and why they are so cool.
What is a Render Pipeline?
In graphics, the general problem you are trying to solve is that you have a description of a scene (say a collection of objects) and you want to convert that into a visual representation.
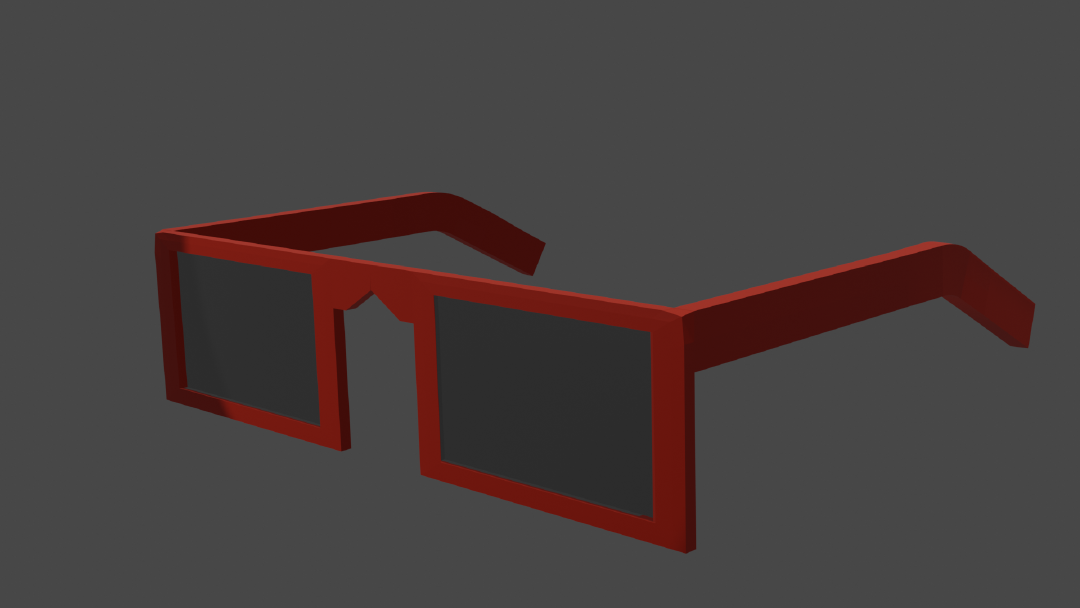
You want to go from an abstract representation like this:
Object {
  vertex1: [x1, y1, z1],
  vertex2: [x1, y1, z1],
  ...
}
to a visual representation like this:
The simplest way to achieve this would be to either:
- iterate over all your objects and calculate the visual representation of each,
- or iterate over each pixel of the output and calculate what the value of that pixel should be.
The first approach is 3D rasterization (frequently used in gaming) and the second approach is ray tracing (used for movies where slower but higher quality methods are preferred)1.
But, in modern graphics, things aren’t this simple. You don’t just do a single pass and call it a day. Modern graphics applications expect a lot more features in their renders like shadows and effects (fog, smoke, blur). Instead of trying to do all of this in a single pass, you usually do dedicated passes for each high-level feature. This provides three benefits: simplification, flexibility, and more flexibility!
Since each pass is focused on doing a single type of transformation, it can be a lot simpler to implement and debug. Secondly, this separation allows later passes to depend on earlier passes. A pass can ask for the completed output of a previous pass, and use that data in its own calculations. This makes a lot more features possible because a pass can depend on complete data from previous passes. Finally, since each pass is isolated, each pass can be very different. You don’t even have to “pass” over the same things. One pass can iterate over objects while another one iterates over pixels!

So, by the end, you end up with a series of passes. And since you have passes that depend on each other, you really end up with a graph of passes. This graph of passes is the rendering pipeline. By executing all the passes in the right order, the rendering pipeline can output the visualization of the input.
Okay, so what is so satisfying?
Intellectual Satisfaction
I described render pipelines as a thing that takes in scene information and outputs the visual representation of the scene. But it doesn’t have to be visual data. You can see in the graph above, “Pass D” doesn’t actually contribute to the rendered image at all!
The rendering pipeline can be thought of as a compute engine. If your game or application needs to do complex calculations over objects in the scene or needs to use outputs of other passes, you can just add another pass to the render pipeline and smuggle out whatever data you want as an image. The render pipeline will hand you that image and you can pull out whatever data you need!
I learned this trick at work where we are building a game editor and used it to answer this question: when a user clicks on an object, how do we know which object was clicked? We solved this by adding a pass to calculate what pixels different objects are occupying and then store that data in an image where each object is mapped to a unique color. Whenever a user clicks on a pixel, we look up the pixel in the image and translate it back to the object. This seems to be a standard industry practice called gpu-picking (1, 2). Even if standard, I found the idea of smuggling data out of the pipeline using an image particularly clever and satisfying.
Visual Satisfaction
Since the rendering pipelines are complex, there are debugging tools to help investigate what is happening in the pipeline. Since the pipeline is made up of passes, and the passes themselves are made up of smaller visual transformations, you can use the debugging tools to see how the full scene comes together.
At the top of the post, I shared how Unity builds a frame of my game. But that is actually only showing a single pass.
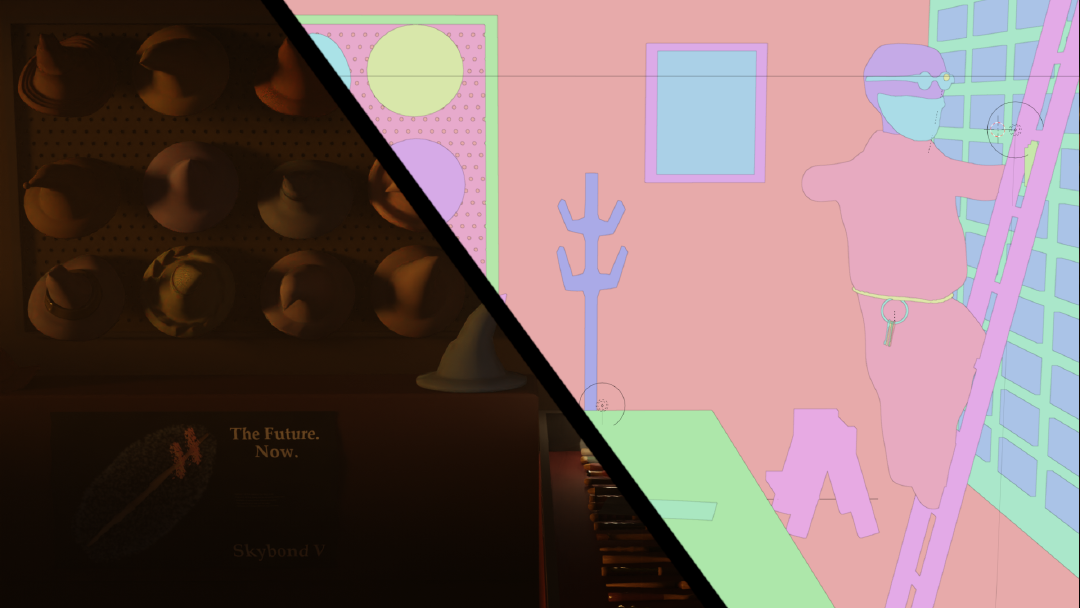
We can also visualize the different passes and the data they capture! Here is a collection of passes that Blender uses2:
The most satisfying part of working in graphics or gamedev is being able to see your work. And being able to see a “time lapse” of that just takes that satisfaction to the next level!